Page 4

Photo 18: Gluing on the top
This photo shows the top glued on and the piece in clamps. The spring clamps are mainly to hold the piece in alignment until I can get the bar clamps and caul in position. The black match mark helps me maintain the same orientation of the two butternut pieces that they had in the original board.
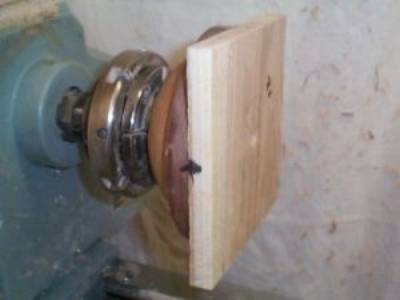
Photo
20: Final mounting
The glue has
dried and I have re-mounted the potpourri on the lathe for the final session of
turning.

Photo
21: Turning the top
I have started
to bring the top down to round. Again I am cutting from the middle out to
the edges.
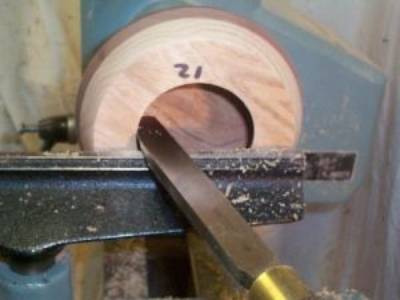
Photo
22: Sizing the hole
I used dividers
to set the dimension of the top hole a little undersized and the 1/4" bowl
gouge to remove most of the material, using a light touch as I approached
"breakthrough" to avoid tearout around the inside face of the
top. Here I am using a side-cutting scraper to sneak up on the final size
of the hole.
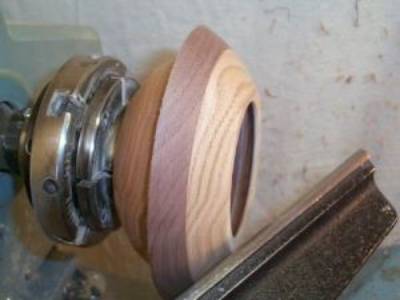
Photo
23: Ready for sanding
I have now
finished the turning on the top and it is ready for sanding. I am careful
to not reduce the wall thickness too much in the area of the glue joint or I
will wind up with another candy dish. :)

Photo
24: Ready for finish
The top is now
ready for the final application of finish. I recoat the entire piece
inside and out at this point to cover any areas that may have gotten scuffed or
dulled. Any glue squeeze out on the inside should peel off relatively
easily since the interior was pre-finished.

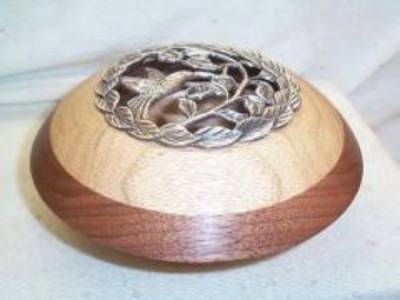
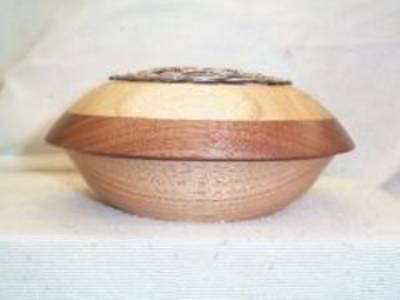
Photos
25-27: Finished!
The completed piece with the pewter lid in place.