Page Four
Once the corners are done the middle of the plate is turned pretty much the same as any other plate or bowl. Hog out the waste and then refine the shape, trying to finish with one continuous light cut from the rim to the centre. Then on to sanding and finishing.
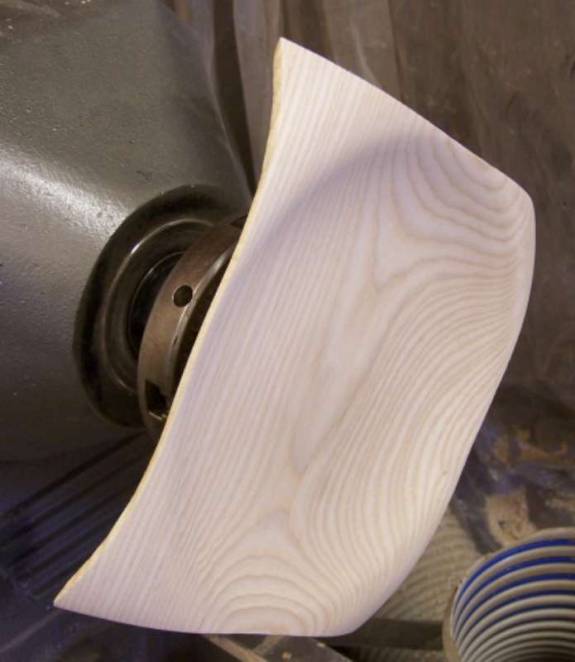
Photo #12: Inside
of plate done.
I sand these pretty much the same as I sand bowls, using a Velcro faced foam pad mounted in an electric drill. The main difference is that I have the lathe speed much higher (~1000 rpm) than I would if I were sanding a continuous surface. I keep the face of the disk tipped back slightly so that the leading edge of the corners does not catch on the edge of the disk and use a very light touch to avoid pushing the pad into the gaps between the corners. Even so, the leading edge of each corner and edge tends to get rounded over slightly. Also, you may have noticed that the edges of the original blank were left rough, straight from the saw.
Now is when I dress those rough sawn edges. This also removes the slight roundover on the leading edges and makes the corners crisp again. I use a block plane or spokeshave for this with the headstock spindle locked. I do the end grain edges first and then the long grain edges.
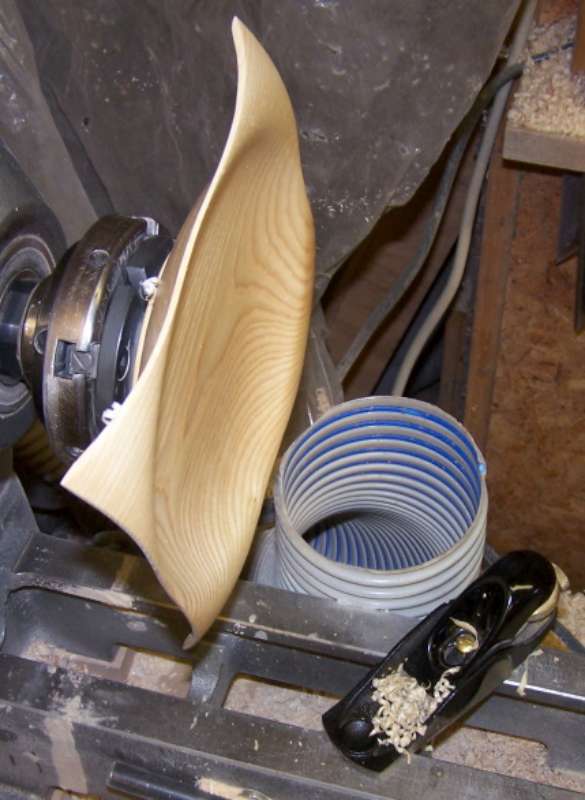
Photo #13: Edges
dressed
This white ash turned very well, but some woods are more brittle and tend to chip along the edges. Dressing the edges with a block plane after turning allows removing any minor chipping out that might have occurred.
Now I need to reverse the plate again to remove the tenon from the bottom. I use my low tech vacuum chuck for that.
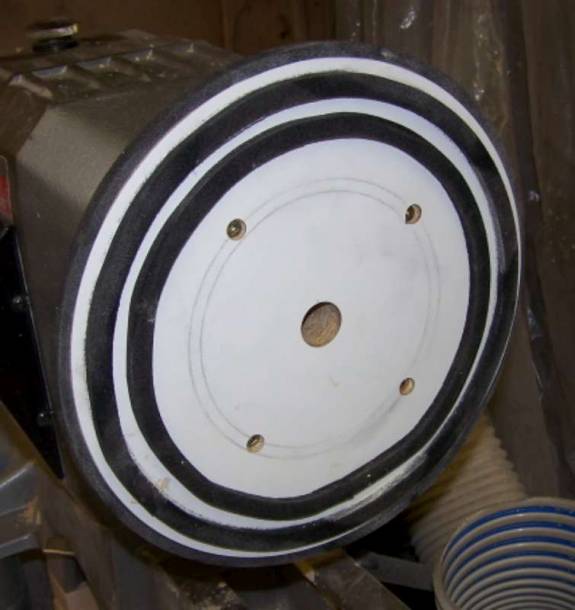
Photo #14: Low
tech vacuum chuck.
This is simply a piece of melamine sheet goods mounted to a backer board and face plate. I used self adhesive closed cell foam weatherstripping to provide a seal. I have the Nova vacuum chucking adaptor for my lathe that is designed to be used with a common shop vac. I admit that I was a bit sceptical about this set-up until I tried it. I must say that I have been impressed with its holding power.
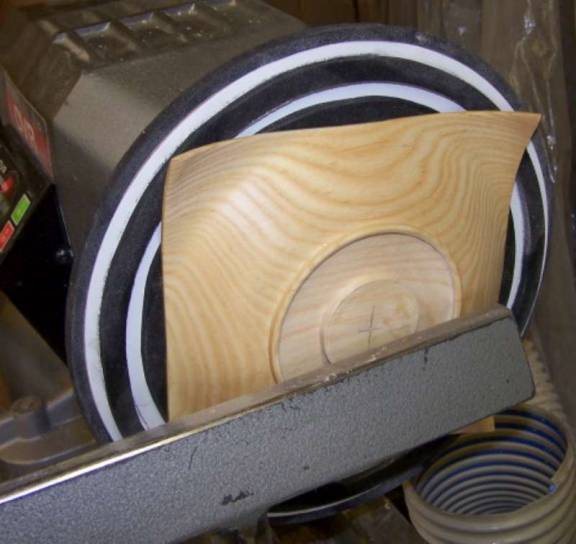
Photo #15: Plate
mounted on vacuum chuck
This plate just barely reaches the gasket all the way around, but it was enough to hold securely. I did use very light cuts in removing the tenon.
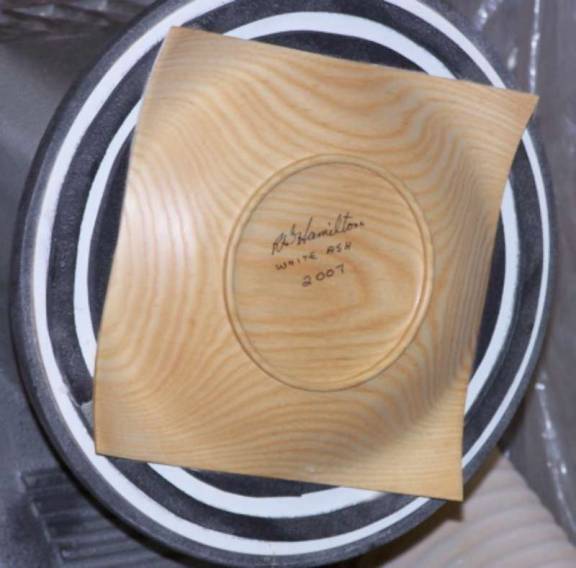
Photo #16: Bottom
finished
The tenon has been removed and the bottom sanded and finished. The plate is now complete. Total elapsed time from deciding I was going to make this project to completion was about an hour and a half, during which time I also managed to snap 90 photos to ensure I had some useable ones. It has taken more than twice that long to edit the photos and put together this write-up.
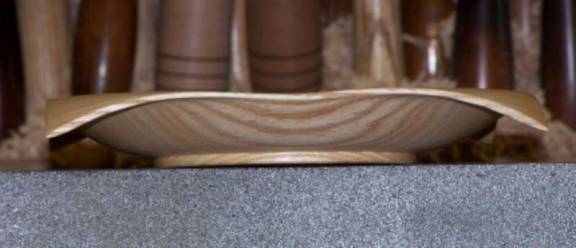
Photo #17: Side
view of completed plate
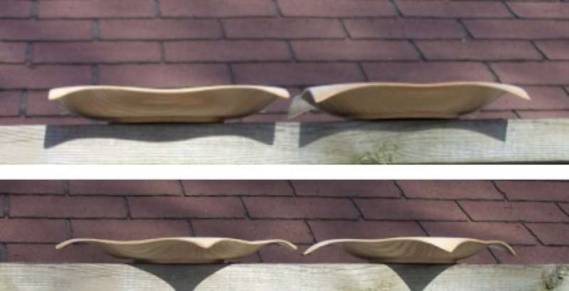
Photo #18: Both plates
This composite photo shows the original plate on the left and the plate turned for this article on the right.