Page 4
I keep a set of dividers set
to just under the final opening for the pewter lid and “sneak up” on the final
fit just before final sanding.
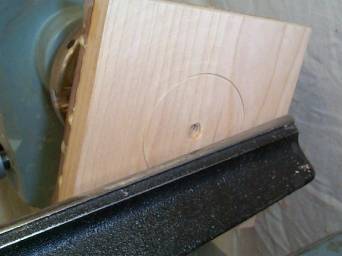
Figure 16: Marking out the potpourri lid hole
I use a ¼” bowl gouge to cut
out the waste, easing up on the cut before breaking through to the interior to
reduce tearout. I then square up the
sides of the hole using a side-cutting scraper.
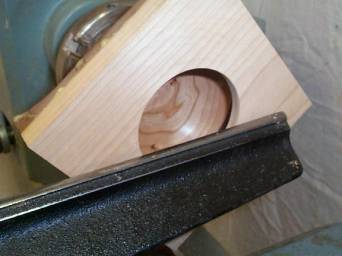
Figure 17: Lid hole roughed in
Now I can start to shape the
top. I start with my ¼” bowl gouge
cutting from the center out to the corners until I am almost down to the walnut
layer. Then I start to form the curve
of the top. Finally I make a cut
straight in along the walnut/cherry joint from the corner to where the curved
line of the top meets the walnut layer, leaving a flat walnut surface on the
top of the corners.
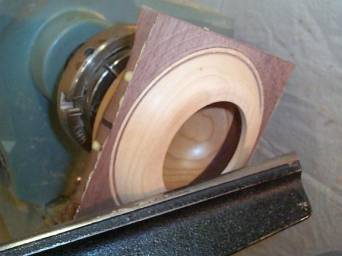
Figure 18: Turning the top
Now I switch to my scrapers
again and turn the top surface of the walnut layer to match the curves in the
bottom surface, so that the edge is uniformly thick. The hardest area to get into is the area right in the middle of
each edge, right where that black “match mark” is in the photo. You need to cut quite deeply in that area
without reducing the diameter of the cherry top too much or you risk losing the
overlap of the top that provides the glue joint. It helps to have a fairly narrow round end scraper for that
area. Once I am satisfied with the
curves I do my final fitting for the pewter lid, slightly chamfer the inside
edge of the top hole using a side-cutting scraper, and do the final turning of
the cherry top to make it a consistent thickness. Then I am ready for final sanding.
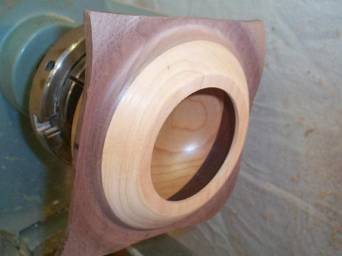
Figure 19: Top ready for sanding
At this point I remove the
potpourri from the lathe again and just touch the edges to my belt/disk sander
to remove any saw marks and the match mark.

Figure 20: Removing milling marks from the edges
With that done I remount the
piece on the lathe and do the final sanding to 400 grit. I then use a piece of 400 grit sandpaper
with the lathe stopped to “break” the sharp corners and edges.
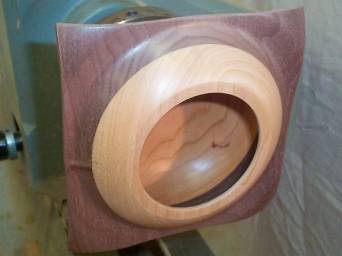
Figure 21: Sanding complete, ready for finish
One final application of
finish, a good buffing, and the piece is done!
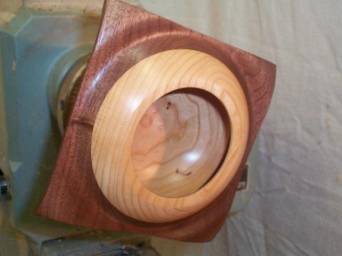
Figure 22: Finish applied and buffed out
All that is left now is to
put on the pewter lid and enjoy.
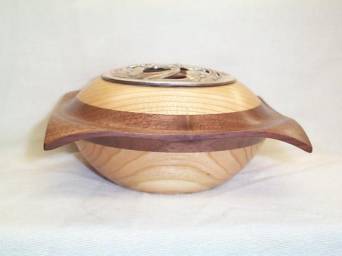
Figure 23: Side view of completed potpourri
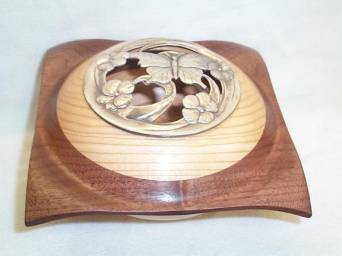
Figure 24: Looking down at an angle
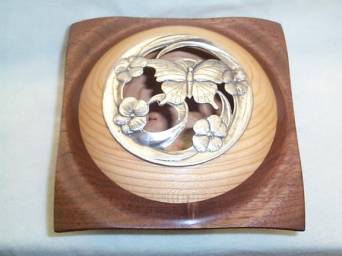
Figure 25: Top view of potpourri