I oriented the join line between the two halves half way between two chuck jaws and was able to get a good, centred mounting despite the eccentric shape of the case.
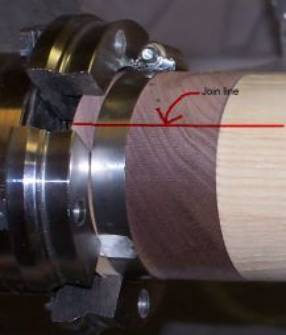
Photo 34: Final mounting
With the piece once again mounted between centres I return to the roughing gouge and bring it back down to round. I measure and mark the parting lines on the end caps to leave a wall thickness of about 3/8” on the ends of the case.
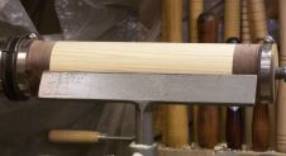
Photo 35: Round again
The hose clamps holding the two halves together are outside the parting cuts, so I don’t part too deeply.
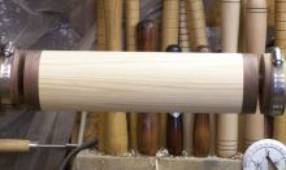
Photo 36: Parting waste
I sand the outside of the case and apply my beeswax/mineral oil finish.
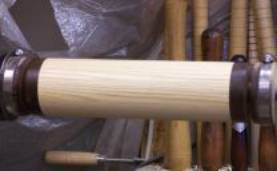
Photo 37: Sand and finish
Now it is time for the steady rest. It would probably be a really good idea to put it on and get it adjusted while the piece is still firmly held between centres. Wish I had thought of it. I wrapped masking tape around the case where the steady rest wheels will ride both to protect the finish and to hold the case together once the waste with the hose clamp is cut off. I sawed through the last inch of the waste and set up my steady rest for support.
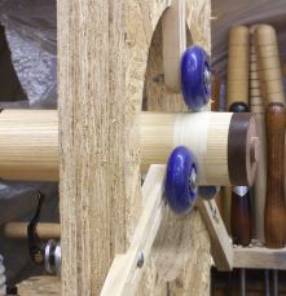
Photo 38: Steady rest in use
I turned the end slightly dished so that if the case is stood on end it will sit without rocking. I didn’t do anything fancy, just made it smooth. Then I sanded and finished the end.
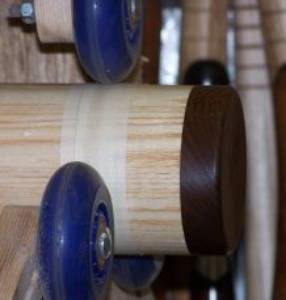
Photo 39: End cap complete
I padded the end with a shop towel and more masking tape and then reversed it in the chuck and repeated the steps to finish the second end. That completed the lathe work for the project.
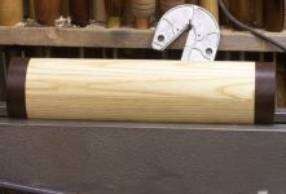
Photo 40: Turning complete
Since the original one was the “utility” version, I had simply laid the hinges across the join and screwed them on in a surface mounting. On these I took the time to mortise the hinges into the case edges. The clasps I got at Home Depot and they mount using small escutcheon pins.
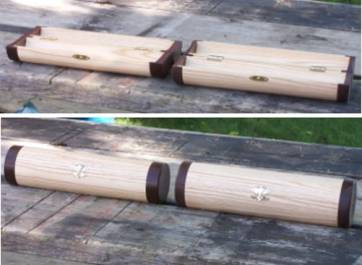
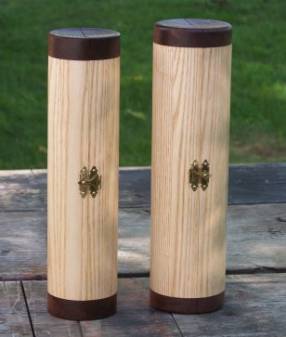
Photo 41: Cases complete Photo
42: Cases on end