Page 6
So, with the drama hopefully over with, I continued by turning a tenon on the end of the handle. That allowed me to reverse the lid once again to finish turning the inside surface.
Photo #31: Tenon cut on handle disk Photo #32: Turning the inside of the lid
I sanded and finished the inside of the lid and the turned it around again to finish turning the knob. I did the bulk of the shaping with the tailstock in place and then turned on the vacuum to allow finishing the middle of the handle.
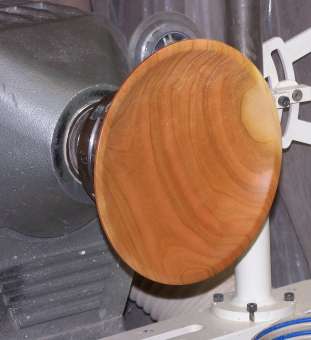

Photo #33: Lid inside finished Photo #34: Knob turned, lid complete
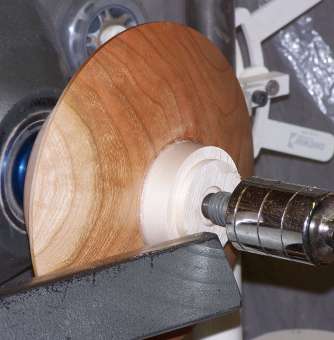
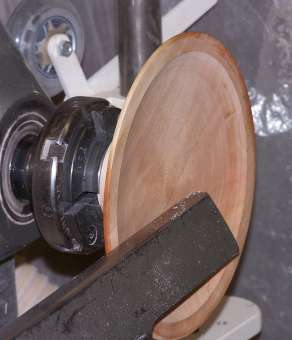
Now it was time to finish the bottom of the bowl. Since I had lost the tenon I had also lost the centering dimple, so it was a little more time consuming to get it running true on the vacuum chuck. The design helped there because I could set the tool rest so it was almost touching the bottom of one of the feet and then rotate the lathe by hand to check the gap at the other three feet. It only took a couple of adjustments to get it running true. I switched over to a curved tool rest so I could get the tool rest close to the bowl bottom while maintaining a generous clearance against accidental contact with the bowl feet. When the tenon had sheared off it had torn some wood out below what I had intended to be the surface of the bowl bottom so I had to re-define the curve and blend it in from further up the bowl wall. Fortunately I had not tried to make the bowl walls too thin in the first place so I still had the material there to work with.
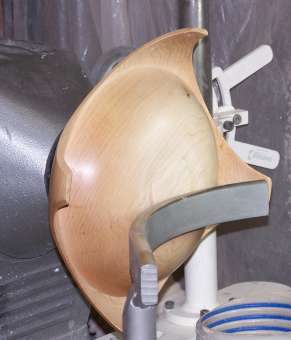
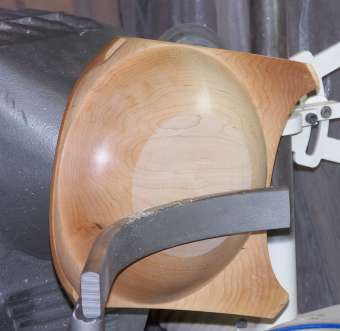
Photo #35: Bowl mounted on vacuum chuck Photo #36: Repairing the damage
Once I had the bowl sanded I signed and dated it and applied the finish. I was especially pleased to get this one to completion. :)
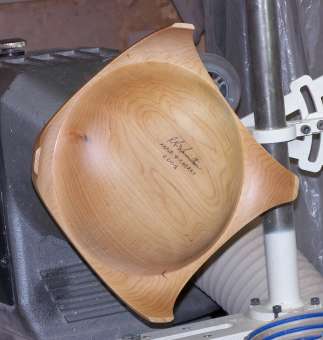
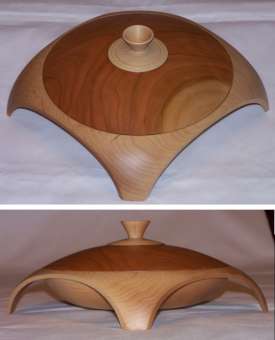
Photo #37: Bottom sanded and finished Photo #38: Completed project.
If you made it this far, thanks for looking. :)