Page 5
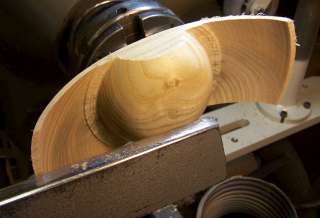
I continue to work on a section at a time to bring the wings down to their final thickness. As I approach the area of the box cavity I alternate between working the sides of the box and the underside of the wings. Once I have the shape and size I want I aim to finish by picking up a very light cut on the underside of the wing near the box wall with the gouge rolled right over so the flute is almost in the 3 o'clock position and cut in towards the box wall. As the tip of the gouge reaches the wall the lower wing of the gouge starts to shear scrape on the box wall. I withdraw the gouge in a very light shear scrape up the wall. This leaves a nice, crisp corner where the box wall meets the underside of the wings.
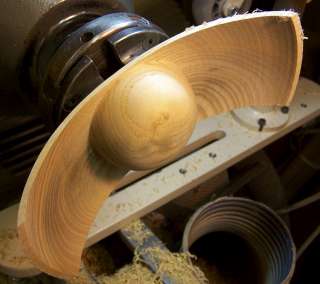
Photo #16: Cutting progresses Photo #17: Box bottom ready for sanding
With the cutting complete I proceed to sand the bottom of the box. The outer wall of the cavity can be power sanded, but the underside of the wings needs to be sanded with the lathe turned off. The better surface you can leave right off the tool the less tedious the sanding will be. Once I have finished sanding I use a block plane to clean up any chipping on the edges of the wings and then ease the sharp edges with fine sandpaper.
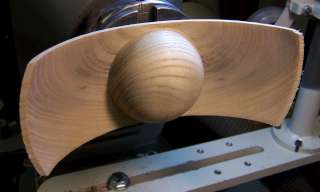
Photo #18: Sanding complete