Segmented Clocks
Or
The Rewards of Procrastination
A Pictorial Article by Bob Hamilton
I actually
started out to clean my shop.
Really! Unfortunately, in the
first corner I started to clean I discovered a bag containing half a dozen
clock kits that I don’t even remember buying.
Somehow, making a few clocks sounded WAY more interesting than cleaning.

Photo #1: One of the clock kits
This is a picture of one of the clock kits I found. It is complete with face, hands, movement,
and the battery IS included. The shrink
wrap packaging was a bit of a problem when it came to getting the hands out,
though. I am glad that I did not want
to use the second hands on these clocks, because I don’t think I managed to get
even one of them out without damaging it.
I had some walnut and maple around, so that is what I chose to make the
clocks from. I milled some of the
walnut to ¾” thick and some to ½” thick.
The maple I milled to a bit over 1/8” thick. All of it was ripped to 2” width.
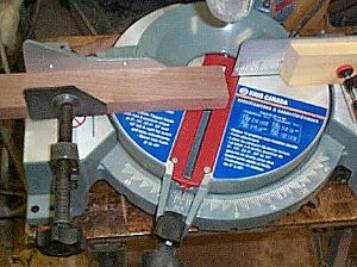

Photo
#2: Setting up to cut the mitres Photo #3: First end trimmed
I made a stop
block for my mitre saw with the end trimmed to the 22.5° angle required for the
octagons. I cut the end of the stock to
the angle, then flipped it edge for edge, slid it down to the stop and made the
second cut.
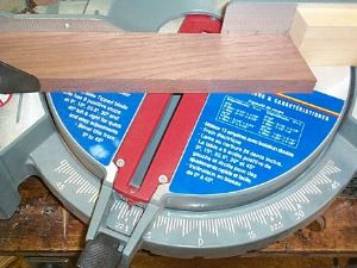

Photo
#4: Stock flipped and slid to stop Photo #5: First segment cut
After each cut the stock was flipped and slid down to the stop for the next cut. It didn’t take long to get a pile of segments.
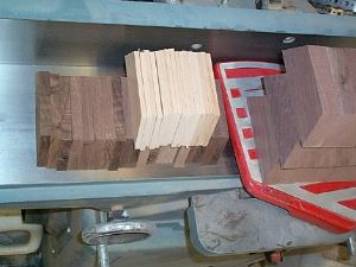
Photo
#6: Parts cut for several clocks