Page 4
With the faces of the rings dressed flat and the corners knocked off it was time to glue the sandwich together.
Photo
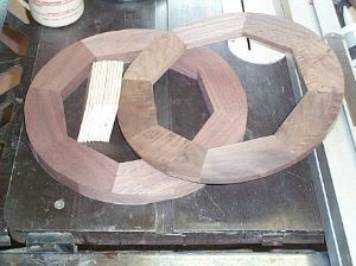
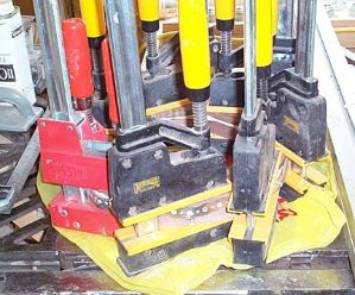
#19: Parts for one clock Photo #20: First clock in clamps
I spread glue
on the dressed faces of the walnut rings and on the ends of the maple segments,
then clamped everything together. The
band clamp was put on first, but not tightened until I had applied a bit of
pressure to the bar clamps to make sure everything was flat. The band clamp was tightened using an
extension nut driver socket in a cordless drill, then the bar clamps were
tightened. Maybe overkill, but I used a
clamp on every segment of the octagons.

Photo
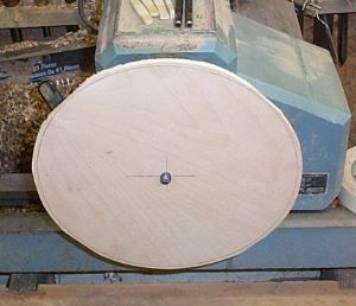
#21: #3 jaws and woodworm screw Photo #22: Plywood backer mounted
I chose to
use ¼” plywood backers for the faces of the clocks. The movement that comes in the kit is actually intended to be
mounted directly to the clock face and has a very short stem, so in addition to
turning the plywood discs round I need to make a recess for the movement that
goes almost all the way through to the back face veneer. I switched over to the #3 jaws on my chuck
and installed the woodworm screw to mount the plywood discs that had been
roughed out on the band saw.
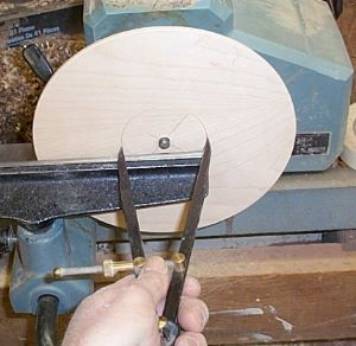

Photo #23: Layout of mortise Photo #24: Recess cut
Once the outer edge of the disc had been turned to size I used dividers to lay out the mortise for the movement. The disc is rotating in a counter-clockwise direction, so only the left leg of the dividers which is supported by the toolrest is allowed to touch the spinning plywood. If the right hand leg of the dividers touches it will be carried up and twist out of your hand. The right hand leg is offered up without touching to see that the scribed line is at the correct radius. The recess is then excavated using a square end scraper, leaving a stub of material engaging the centre screw. The stub will be removed with a bench chisel after the piece is off the lathe.