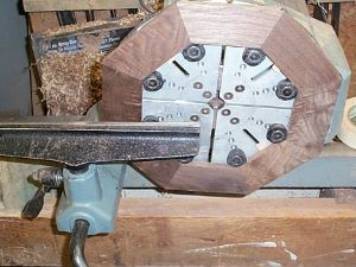
Page 3
In order to
get a good glue bond between the layers that make up the clocks I needed to
make the faces of the rings flat.
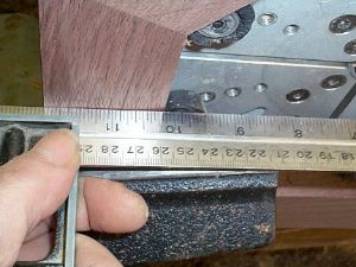
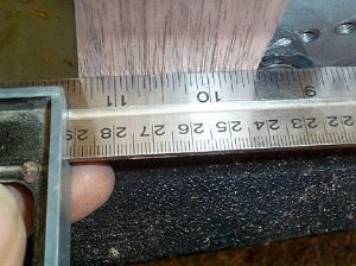
Photo #13: Checking the face Photo #14: Flat and true
Once I had
the joints all levelled I checked for flatness by laying a straightedge across
the full face of the ring. It should
make full contact on both sides. In the
left hand picture above there is a gap near the inner perimeter of the ring,
indicating that I must remove more material from the outer portion of the
face. In the right hand picture the
straightedge is making full contact, indicating that the face of the ring is
flat.
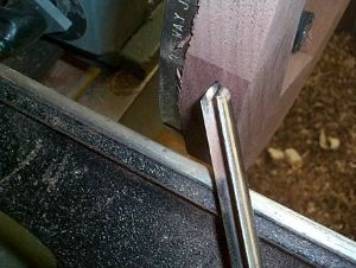
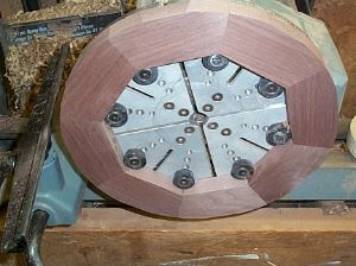
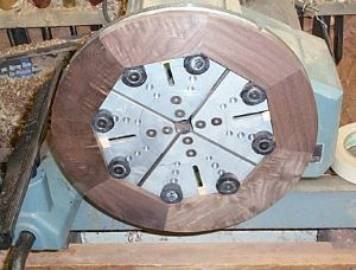
Photo
#15: Knocking off the corners Photo #16: First ring complete
The maple
octagon is too thin to glue up on its own, so I will be gluing it up as the
“meat” in the sandwich formed by the two walnut rings. In order for the band clamp to pull the
maple segments together I need to knock the corners off the two walnut octagons
so they will not interfere with the clamp.
Here I am using a gouge to remove the corners. I don’t take the ring all the way down to round at this point,
just get the corners out of the way.
Photo
#17: Thin ring mounted for dressing Photo #18: Thinner ring complete
When I mounted the ½” thick rings to the chuck I found that the dogs stuck out too far and interfered with being able to dress the face of the rings. I taped some shims to the back of the octagons so that they stood out a bit from the face of the chuck and the dogs were no longer in the way. Two thicknesses of Popsicle sticks was just right. I dressed the faces and knocked off the corners just the same as the thicker rings.