Page 6
I used a combination square to verify that the side walls of the recess were square to the back and the lip of the rabbet was square to the side.
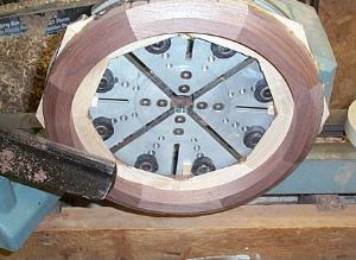
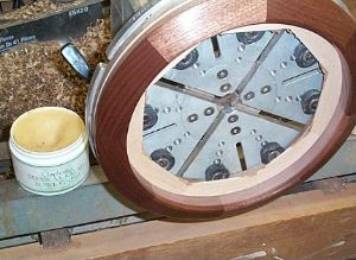
Photo #29: Shaping the back Photo #30: Back sanded and finished
While the clock is still mounted with the back face out I start shaping the profile, since I will be unable to get at this area when it is reversed on the chuck. When I am happy with the shape I sand it to 400 grit and apply the finish. I used a product called Clapham’s Salad Bowl Finish which is a blend of mineral oil and beeswax in the form of a soft paste. I apply it with the lathe stopped and buff it out with the lathe turning.
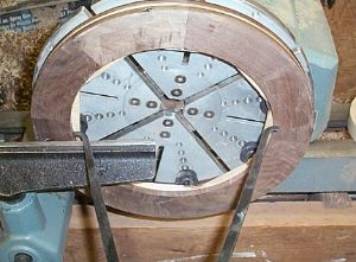
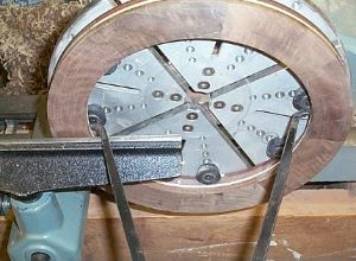
Photo #31: Front face out Photo #32: Opening cut to size
Here I have reversed the clock so that the front face is out. I have the calliper set to the diameter of the clock face in the kit. I want the opening to be the same size as the clock face, so that none of the face will be hidden in the rabbet. This will allow me to install the face from the front after the backer plywood is glued into the rabbet. I cut the opening to the final size through both the walnut and maple layers.
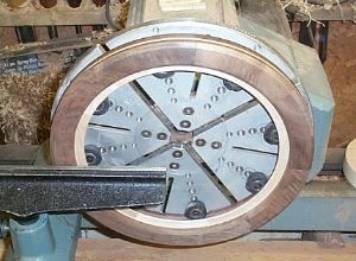
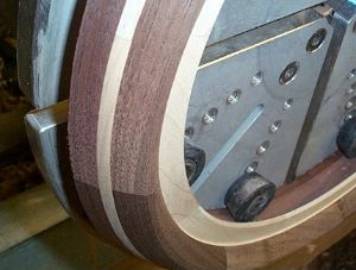
Photo #33: Shaping the front Photo #34: Front face ready for sanding
Now I can finish shaping the front profile. I cut the walnut layer back in the middle to expose a ring of maple and shape a gentle curve on the side to meet the curve on the back.