Page 7
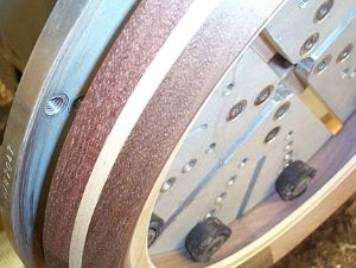
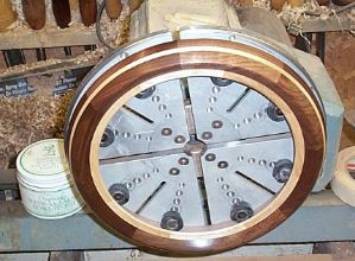
Photo #35: Front sanded Photo #36: Front finished
The turning steps are now complete. I sand and finish the front while it is still on the lathe, then remove it for installation of the backer and face.
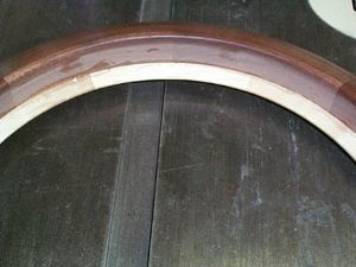
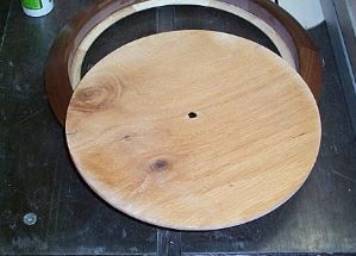
Photo #37: Glue applied in rabbet Photo #38: Backer sprayed with adhesive
I run a bead of medium viscosity cyanoacrylate glue (Hot Stuff orange label) into the corner of the rabbet, and also spray the front of the backer disc with 3M Super77 spray adhesive. The spray adhesive will remain tacky long enough for me to put the plywood in the rabbet, spray accelerator on to the cyanoacrylate joint, and then install the clock face from the front.
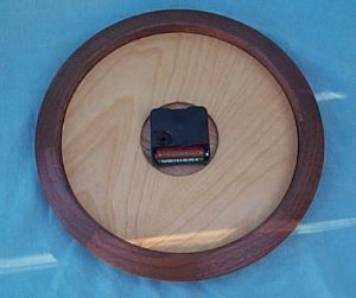

Photo #39: Back finished Photo #40: Finished clock
Now I can apply and buff out the finish on the back of the plywood disc and the side walls of the rabbet. I install the movement and hands and the clock is complete.
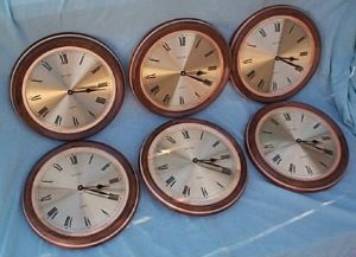
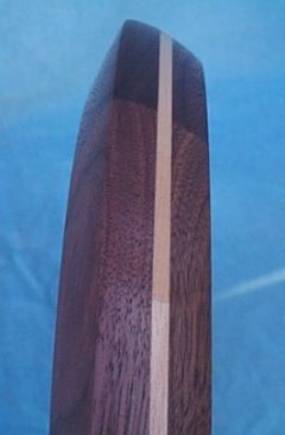
Photo #41: Batch completed Photo #42: Profile view