Page 2
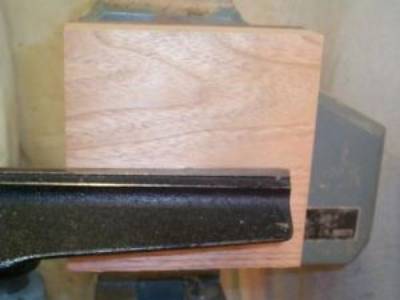
Photo 7: Bottom mounted
The bottom part of the potpourri is now mounted onto the screw chuck in preparation for turning the outside bottom surface.

Photo
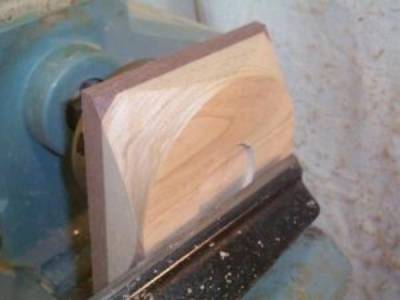
8: Chucking recess cut
I use my 4-jaw scroll
chuck in expanding mode to mount these pieces for turning the upper
surfaces. This picture shows the recess I have cut into the bottom in
order to mount it on the chuck. I make the recess about 3/16" deep
Photo
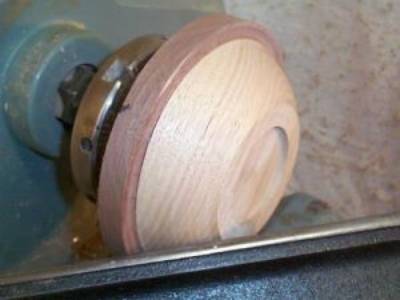
9: Bringing down to round
I have started to
bring the workpiece down to round, cutting from the centre out to the
edges. I want to leave some slight flats at the top of the walnut layer
to aid in aligning the top when it is glued on. That area is where you
see the black mark in some of the photos
Photo
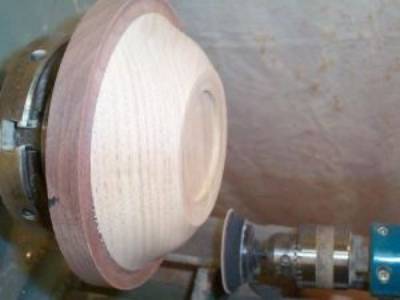
10: Bottom ready for sanding
I have completed
turning the bottom and it is now ready for sanding. Sharp eyes will
notice a slight gap along the glue line between the walnut and butternut.
This blank came from the end of the original board and I must have gotten some
planer snipe that I didn't notice during my original glue-up. I have
worked some cyanoacrylate glue into the crack and sanded to get some sawdust
for filler.
Photo
11: Bottom sanded
I have finished
sanding the bottom and am now ready to apply the finish. There is still
some white showing in the gap which is from the accelerator I used on the
cyanoacrylate. I hope the finish will hide it. On the lathe bed you
can see the 2" power sanding disk that I used to sand the inside of the
chucking recess
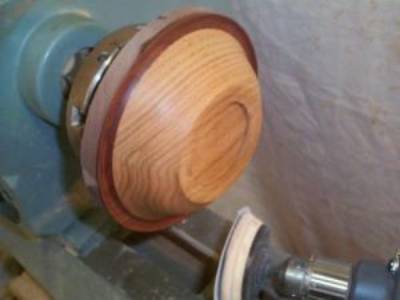
Photo
12: Bottom finished
The finish has been applied and the white has disappeared. On the lathe bed you can see the 3" power sanding disk that I used when sanding the outside of the potpourri