Page 3
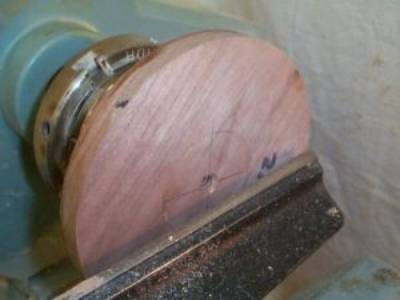
Photo 13:
Blank reversed for hollowing
I have now reversed the piece and mounted it
on the expanding jaws of the 4-jaw chuck to hollow the bowl
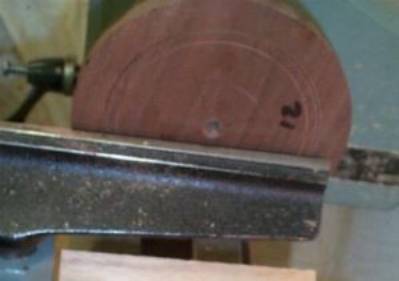
Photo 14:
Mark recess diameter
I have marked out the size of the bowl opening
by using dividers to measure the recess in the underside of the top and
scribing the line onto the top face of the bottom. I am careful to allow
only the left leg of the dividers to touch the workpiece while it is spinning.
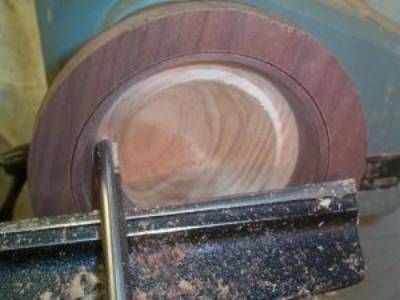
Photo 15:
Hollowing the bowl
Hollowing the interior of the potpourri is
exactly the same as hollowing any bowl. I use the 1/4" bowl gouge to
remove the bulk of the waste and then switch to a round nosed scraper to fair
the curve. I aim for a wall thickness of about 1/4" and 3/16"
over the chucking recess in the bottom.
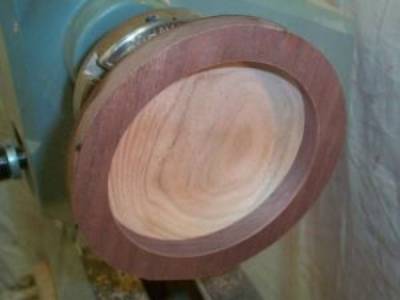
Photo 16:
Inside ready for sanding
The interior turning is now complete and it is ready
for sanding.

Photo 17:
Inside sanded
The sanding is complete and it is ready to be
finished. Again I try to avoid getting finish on the gluing surface.
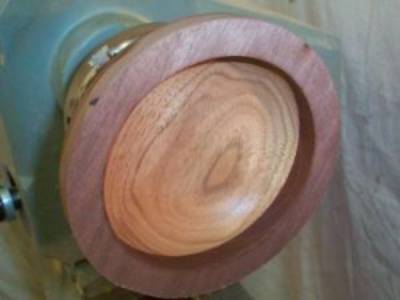
Photo 18:
Inside finished
The finish has been applied and buffed out. At this point I remove the piece from the lathe and glue the top on.