The inside of the cylinder is fairly rough at this point and needs to be cleaned up. Once the end caps are glued on it will be very difficult to sand the inside. As it happened I had a length of stock that I had roughed down to round but never actually used for anything. I mounted it between my four jaw chuck and tail centre.
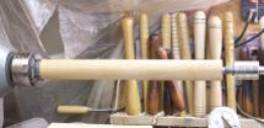
Photo 19: Sanding setup
I then wrapped sandpaper around the dowel and used it to sand the inside of the cylinder. I used 80 grit to start and then re-wrapped the dowel with 120 and then 240 to complete the sanding. I kept the lathe speed fairly low and moved the cylinder back and forth along the length of the dowel as well as rotating it against the rotation of the lathe.
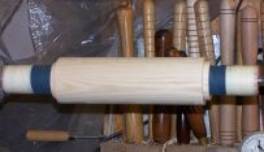
Photo 20: Sanding inside
I blew the sawdust out from inside the cylinder frequently and just before removing the piece the final time I stopped the lathe and slid the cylinder back and forth to sand with the grain. The interior was quite smooth when I was done.
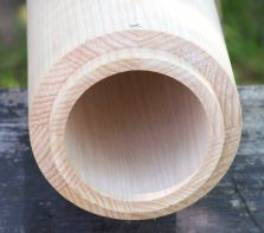
Photo 21: Inside sanded
Now it is time to make the end caps. I had some pretty gnarly 8/4 black walnut that had a quite a bit of sapwood on one face that I decided to use for the end caps since I would be able to turn away most of the defects.
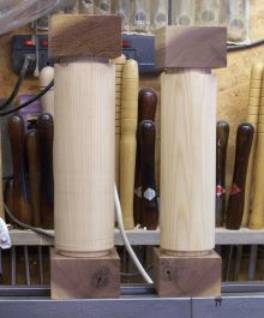
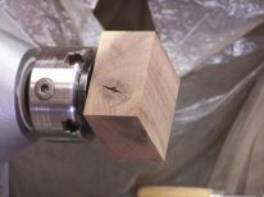
Photo 22: End cap blanks Photo 23: End cap blank mounted
I mounted the end cap in my chuck, roughed it down to round and turned the recess in the face to fit the tenon on the cylinder.
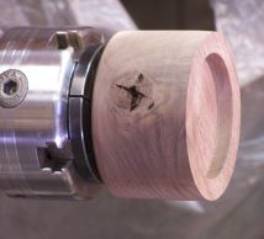
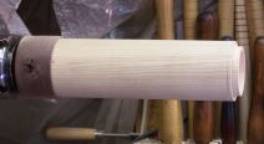
Photo 24: End cap blank roughed Photo 25: End cap sized