Page 4
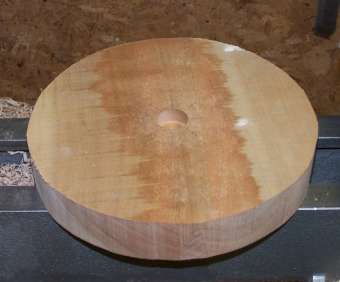
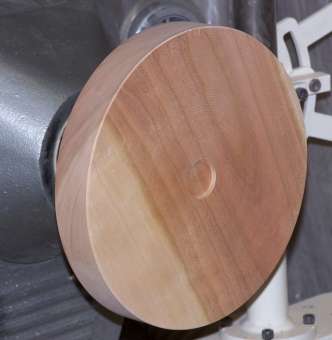
I decided to use cherry for the lid since I had a 5/4 board that was wide enough to make the lid disk in one piece. There was a fair amount of sapwood on one face of the board and I chose to make it a "feature". I cut a disk about 1/2" larger in diameter than I needed. Since the board had a fair amount of cup in it I clamped the disk down on my workbench and hand planed a flat area for the face of the chuck jaws to seat against. I will be using my #1 jaws in expanding mode to mount it on the lathe so I bored a 1" hole about 1/2" deep in the center of the face that will become the inside of the lid. I mounted it on the chuck and dressed the face flat and trued up the rim, then cut a recess in the center for mounting it when I reverse it.
Photo #19: Lid blank ready for mounting Photo #20: Face dressed and recess cut
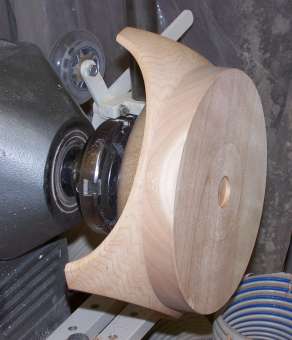
I reversed the lid blank on the lathe so I could remove some of the waste from the inside and cut a tenon to fit into the rabbet of the bowl. Fitting the tenon to the rabbet is pretty much the same process as fitting a lid to a turned box and is very much a trial and error process where you sneak up on a good fit.
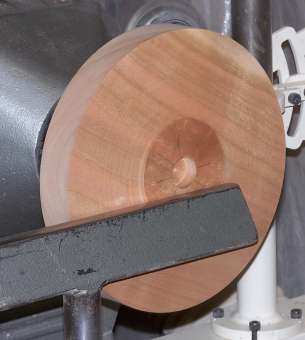
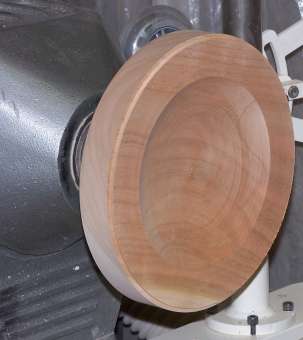
Photo #21: Blank reversed Photo #22: Rough hollowing done
I got lucky and managed to get a really good fit on the tenon/rabbet between the lid and the bowl, tight enough to support the bowl with the chuck attached. I want it tight at this point because I will be using the bowl itself as a friction drive while I turn the top surface of the lid.
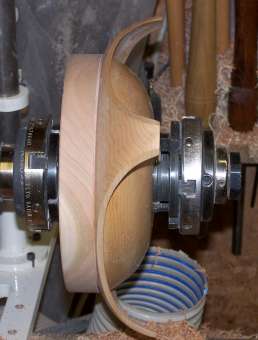
Photo#23: A pretty good fit Photo #24: Reversed once more