Triangle Tea Lights Page 2
I then turned the blank around so that I could work on the top surface first. I wanted to establish the width of the feet before turning the bottom. I experienced a fair bit of chipping out on the long grain edge of this coarse grained oak.
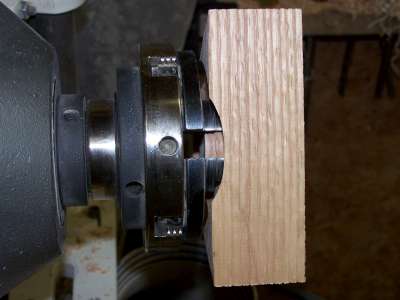

Photo #7: Blank mounted using compression mode
Photo #8: Chip
out on long grain edge.
I turned the top side to completion and sized the recess to fit a tea light candle in its aluminum cup. I went ahead and sanded the top and applied a beeswax/mineral oil finish.
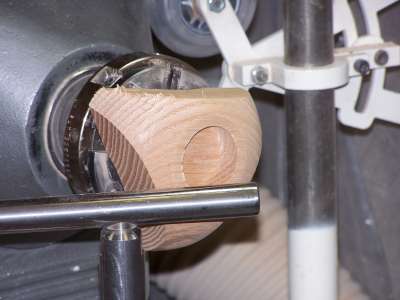
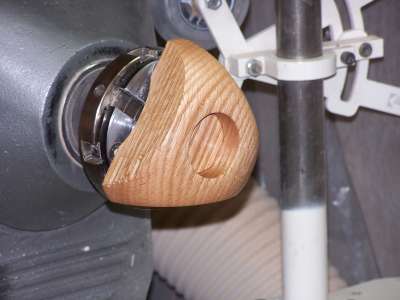
Photo #9: Turning complete on the top
Photo #10: Top sanded and finished.
I turned the piece around on the chuck again and expanded the jaws to grip in the candle hole. Then I turned away the tenon and started shaping the underside of the legs and the bottom of the candle cup. My cuts on the underside of the legs were towards the center, just like turning the inside of a bowl. On the bottom of the candle cup my cuts were outwards from the center, like turning the outside of a bowl. I continued removing material until the legs were about ¼” thick and the exposed edges were consistent all the way around the curve.
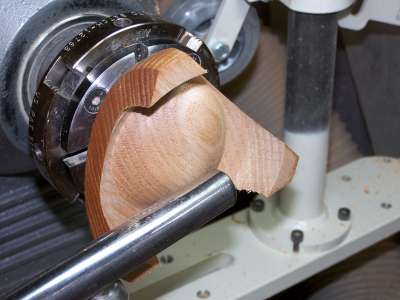
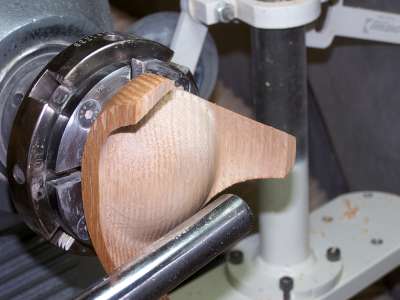
Photo #11: Tenon removed and bottom shaping started. Photo #12: Almost complete.