Page 2
This is the
outside bottom of the bowl I am turning at this point. I usually go for a gentle “S” curve from the
base to the rim.


Photo #7: Shaping progresses Photo #8: Bottom sanded
In the left photo
I have stopped half way through a pass to better show the direction I am
cutting. I find it better on these,
like any bowl, to cut from the base to the rim on the outside. On some brittle woods, like purpleheart,
this can cause an unacceptable amount of chip-out at the rim edges when turning
square. This walnut is quite well
behaved in that respect. This becomes
an interrupted cut as you move out towards the rim, so good tool control is
important. Once I am satisfied with the
shape I use a disc sander chucked in my electric drill to sand the bowl up to
400 grit. This particular blank was a
bit thicker in proportion to its length and width than I liked, so I have left
quite a bit of material to be removed from the other side once it has been
reversed on the chuck. I apply my
finish and buff it out before reversing the bowl for hollowing.
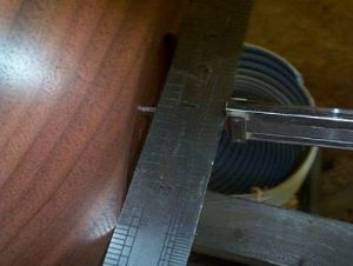

Photo #9: Measuring depth of recess Photo #10: Bowl reversed for hollowing
Before
removing the bowl from the chuck I measure the depth of the chucking recess by
laying a straightedge across the base and extending the depth rod of my
callipers to touch the bottom of the recess.
The difference between the overall measurement and the width of the
straightedge is the depth of the recess.
Once the bowl has been mounted the other way around it is difficult to
judge how deep the recess is. With that
done I reverse the bowl on the chuck in order to hollow out the middle.
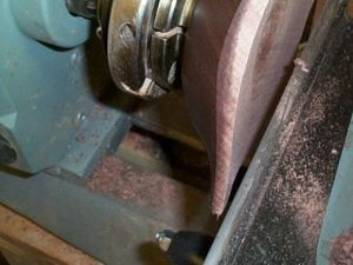

Photo #11: Turning the inside Photo #12: Rim shaped
I start to shape the inside from the rim to the centre. I don’t remove the bulk of the material from the belly of the bowl until after I am satisfied with the rim shape. The extra mass in the middle reduces flexing of the rim during the initial cuts. The rim shape develops naturally as material is removed in full passes from the rim to the centre. You can’t really see what is happening while the piece is turning, so frequent stops to check the progress are necessary. I try to move the gouge in a path that mirrors the outside curve.