Page 3
Once the rim
is turned to the thickness I want and is consistent all the way around I can
start to remove the centre material.
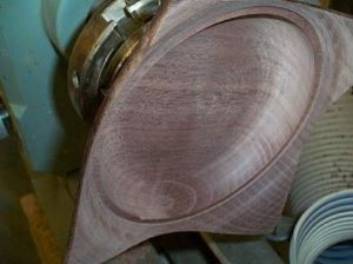
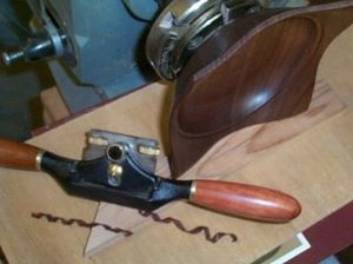
Photo #13: Bowl Hollowed Photo #14: Dressing the edges
I cut a
rabbet for the lid to sit in and then hollow the bowl just like any other
bowl. The lid rabbet will need to be
touched up a bit to bring it back to round after the bowl is sanded and
finished, because the shape will “relax” a bit and the bowl will go very slightly
oval. I sand and finish the inside of
the bowl, then I dress the edges to remove any milling marks or minor
chip-out. This is my old lathe, which
did not have a locking headstock, so I blocked up from the lathe bed to keep
the piece from moving while I was working the edges.
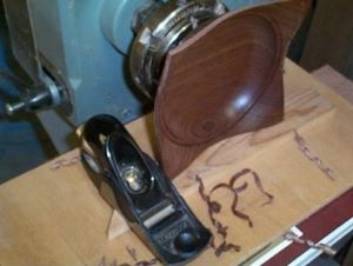
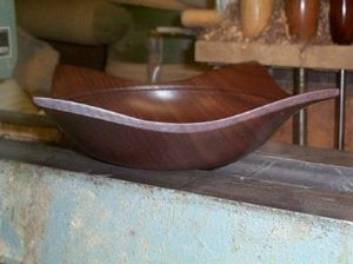
Photo #15: Cleaning up the edges Photo #16: Bowl bottom complete
Once all four
edges are cleaned up I re-true the lid rabbet, apply another coat of finish,
and remove the piece from the lathe.
The bowl bottom is complete.
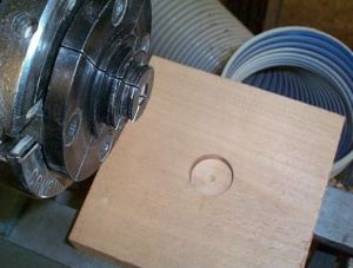
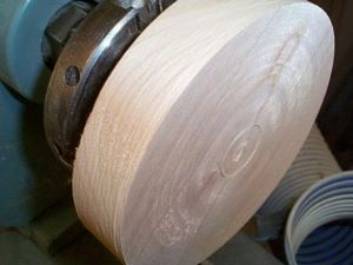
Photo #17: Lid blank Photo #18: Turning the lid
The lid starts out just the way the bottom did. I find the centre of the blank and bore a 1” hole for the chuck jaws. I could rough these round on the band saw, but I find it just as easy to turn them round. Once the lid has been roughed out I lay out the chucking recess on the top face. This hole will perform double duty as both the chucking recess and the mortise for the knob tenon.