Page 4
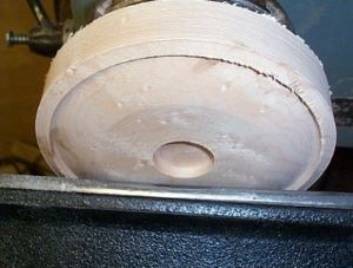
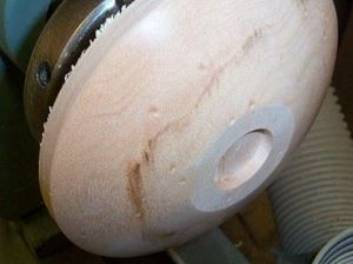
Photo #19: Shaping the lid Photo #20: Lid top finished
I continue
shaping the top face of the lid. I
leave a flat area around the mortise to increase the glue surface for the
knob. Once I am satisfied with the
shape I sand to 400 grit and apply finish, being careful to avoid getting any
finish on the gluing surface.
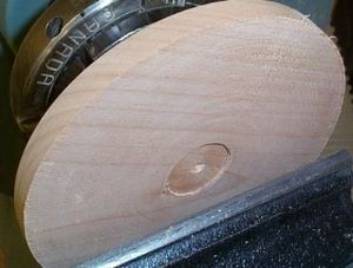
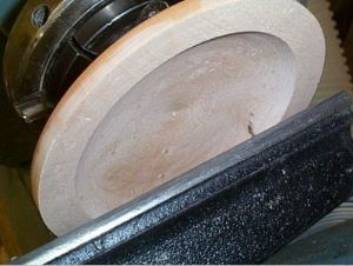
Photo #21: Lid reversed Photo #22: Turning the inside
Once the top
of the lid is done I reverse the piece on the chuck to hollow the inside. This one is birdseye maple with a bit of
mineral staining through it.
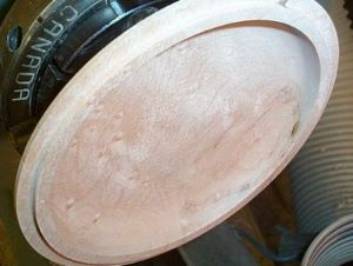
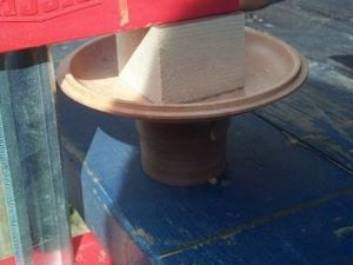
Photo #23: Inside finished Photo #24: Gluing on the knob
The lid rabbet is cut to mate with the bowl rabbet after the inside is hollowed. I keep the bowl handy and stop the lathe frequently to check the fit. When I am satisfied I sand and finish the inside of the lid. The knob blank is simply roughed down to round and a tenon is cut to fit the recess in the lid. I neglected to take any photos of the process. I apply a liberal amount of glue to the knob and tenon and clamp the parts together.